I have wanted to get back into physical attacks on microcontrollers and smart cards for a long time. I briefly encountered these concepts during my engineering studies, but only vague memories remain and I did not have enough background (nor the motivation to really dig in) at the time.
Yet this is a field that strikes me as both useful and wielded by the top wizards of cybersecurity. That is enough to make me want to dive in.
This is why I bought a ChipWhisperer-Husky kit. It is not cheap, but I will be able to reuse it professionally down the line. The kit consists of:
a ChipWhisperer-Husky module;
a CW313 baseboard to connect the target board;
an ATSAM4S2AA microcontroller (a target for our analyses and attacks).
The ChipWhisperer enables two families of physical attacks:
Side-channel analysis: observe what the chip leaks during execution (power consumption, electromagnetic radiation) to recover secrets such as a cryptographic key, without ever touching the code.
Fault injection: deliberately disturb the chip during execution (by glitching the power supply or the clock) to make it skip instructions or take wrong decisions.
This article covers the environment setup: toolchain installation, Linux configuration, and launching the labs provided by NewAE. Trace analysis and the actual attacks (side-channel and fault injection) will be covered in the following articles.
Let’s explore this kit.
Installation
Before driving the Husky, the machine needs a bit of preparation. The examples below are for Fedora (dnf); on a Debian/Ubuntu-based distribution, replace dnf install with apt install (package names may vary slightly).
1. Install the required tools
We start by installing the tools we will need: git to fetch the code, AVR and ARM compilers to build target firmware, and Python to drive the hardware.
Clone the official NewAE repository and move into the folder:
git clone https://github.com/newaetech/chipwhisperer
cd chipwhisperer
3. Create an isolated Python environment
Rather than installing the library system-wide, we create a virtual environment: a self-contained folder that keeps project dependencies separate. Once activated, your prompt shows (cwvenv) at the start; to leave it later, type deactivate.
On Linux, a regular user cannot access a USB device by default. Without this step, the Husky will be plugged in but the library will return a permission error. We install the udev rules provided by NewAE and add our user to the right groups:
sudo cp 50-newae.rules /etc/udev/rules.d/50-newae.rules
sudo udevadm control --reload-rules
sudo groupadd -fr chipwhisperer # recent systemd requires a system account for udev
sudo usermod -aG chipwhisperer $USER
sudo usermod -aG plugdev $USER
Group changes only take effect at the next login: log out and back in (or reboot), then unplug and replug the Husky.
5. Install the library and notebooks
Fetch the Jupyter notebooks (stored in a separate git submodule), then install the chipwhisperer library in editable mode (-e, handy if you plan to tinker with the code) along with the notebook dependencies:
Make sure to use ChipWhisperer >= 6.0.0. With an older version (5.6.1 for
example), print(scope) crashes on the Husky with
AttributeError: 'NoneType' object has no attribute 'clock': a display bug
in the trace/LA component. The connection still works, but upgrading is the
cleaner fix. If your venv already has an old version, force the upgrade:
python -m pip install --upgrade chipwhisperer
Note that ChipWhisperer 6.0.0 pins numpy<=1.26.4. If pandas is present in
the same environment, pip will report a dependency conflict: downgrade it
(pip install 'pandas<2.3') or keep a dedicated ChipWhisperer venv.
At this point everything is in place: the hardware is recognised and the library is ready to use.
6. Start the Jupyter server
What is Jupyter? It is a tool for writing and running Python code directly in the browser, in the form of notebooks: documents that alternate explanatory text and code cells that you run one by one, with the result (text, plots, graphs) displayed just below. It is the ideal environment for step-by-step experimentation, and it is exactly what NewAE provides to learn the ChipWhisperer: a series of ready-to-use teaching notebooks.
Start the notebook server from the chipwhisperer folder, with the virtual environment active:
jupyter notebook
On startup, Jupyter prints a URL containing an authentication token in the terminal, for example:
The token simply prevents anyone else on the machine from accessing your server. A browser tab usually opens automatically; if not, copy-paste the URL (token included) to access the Jupyter interface.
Once the page is open, plug in the Husky, open the jupyter folder and launch the first notebook in the series.
Verify that the Husky is detected
Before doing anything complicated, let’s do a quick “hello world”: confirm that the library can talk to the hardware. This is the reassuring step that lets you know immediately whether a problem comes from the connection rather than anything else.
Create a new notebook (or use an empty cell) and run:
cw.scope() automatically detects the plugged-in ChipWhisperer and opens the connection. If everything goes well, print(scope) displays a summary of the Husky’s state: serial number, firmware version, clock configuration, I/O settings, etc.
If you get an error instead:
No ChipWhisperer found: the Husky is not visible at all. Check the USB cable and that the board is powered. The lsusb command should show a NewAE device.
Permission error (USB ... permission denied): the udev rules from step 4 are not active yet. Make sure you logged out and back in after installing them, and unplugged/replugged the Husky.
When you are done, release the hardware so another notebook can use it:
scope.dis()
Once this test passes, we know the software stack and the hardware are talking: time to get to the serious stuff.
The NewAE labs
NewAE provides a collection of teaching notebooks on GitHub, organised into progressive courses. This is the official starting point for learning the ChipWhisperer, from hardware setup to actual attacks.
Side-Channel Analysis 101: power analysis, DPA/CPA attacks
fault101/
Fault Injection 101: voltage and clock glitching
sca201/ / fault201/
Advanced levels
A good starting point is sca101/Lab 2_1A, which walks through a first power-analysis attack step by step.
Adapting the variables to your hardware
Each notebook starts with a configuration block where you declare your hardware. The labs often default to a CW-Lite with an STM32 target; you need to adapt for the Husky with the SAM4S target:
SCOPETYPE='OPENADC'# OpenADC = Husky/Lite/Pro (as opposed to 'CWNANO')PLATFORM='CW308_SAM4S'# SAM4S target on CW308/CW313 baseboard
Labs sometimes show PLATFORM = 'CWLITEARM' as an example: that is the default target for the CW-Lite. For our Husky + SAM4S, use CW308_SAM4S.
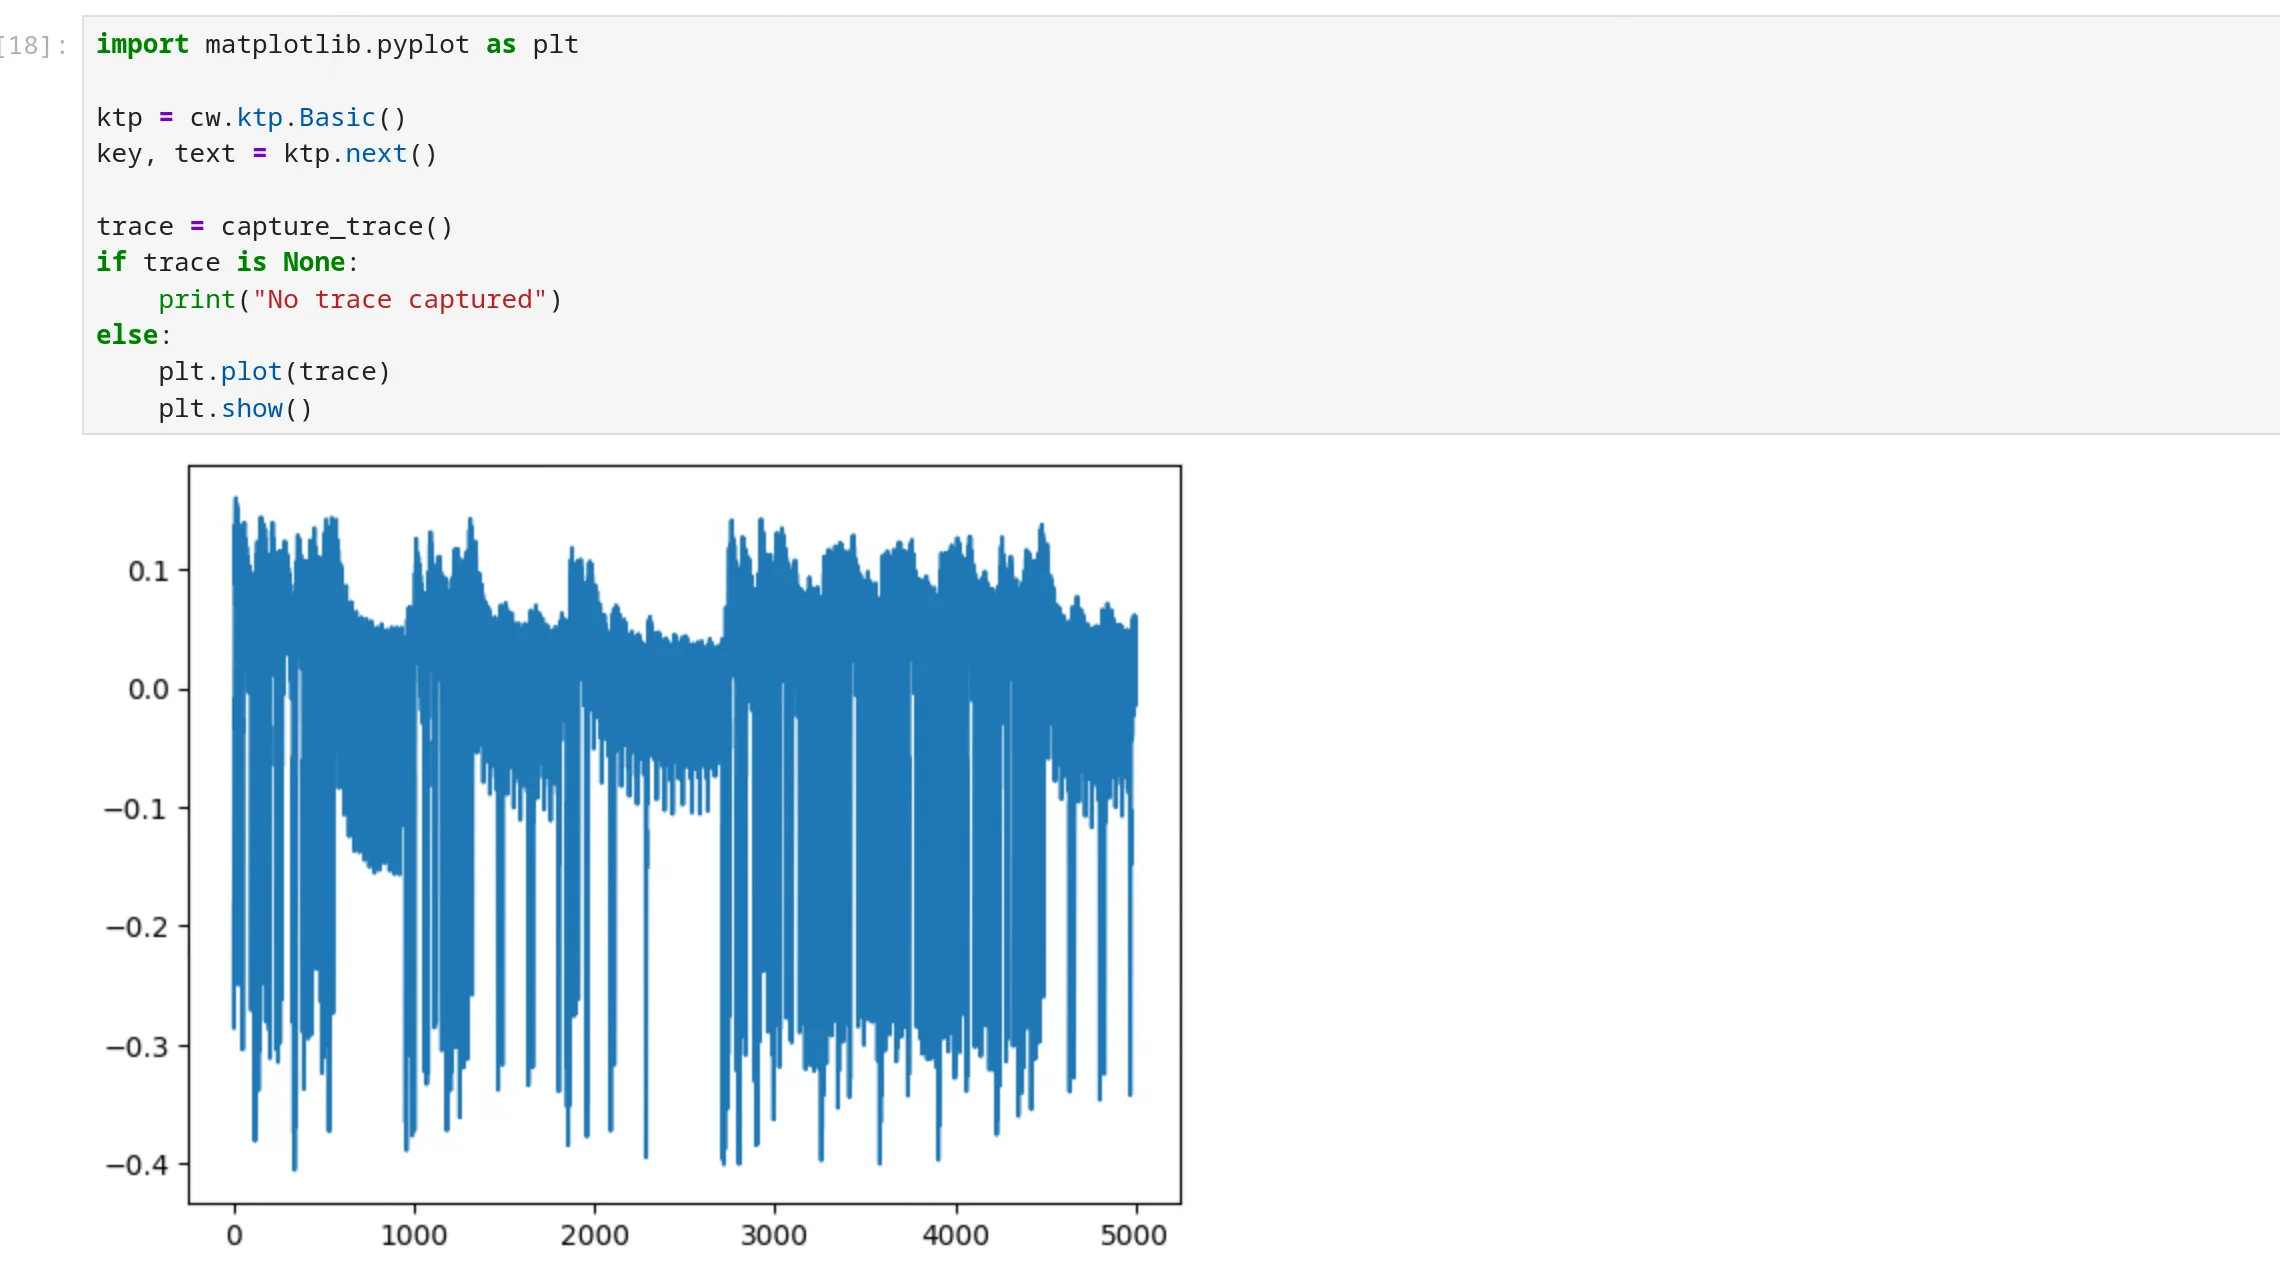
A power analysis example
To verify the full chain works, open courses/sca101/Lab 2_1A - Instruction Power Differences (HARDWARE).ipynb. Adapting it to our hardware variables, we get a first power consumption trace of an AES function:
The details of the analysis will be in the next episode.
Conclusion
Getting started with the ChipWhisperer kit and tools is straightforward, and the courses provided by NewAE seem comprehensive enough to begin exploring physical attacks. The kit is excellent and self-sufficient for a learning context.