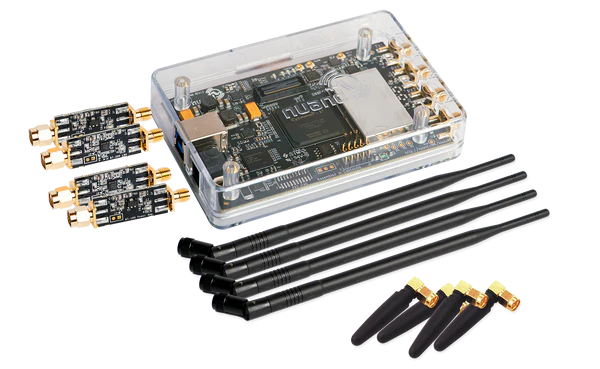
I finally gave in and bought a BladeRF. After withdrawing money from my life insurance and the savings intended for a house, I decided to purchase the BladeRF micro A4. The BladeRF is a tool that enables Software-Defined Radio (SDR) on frequencies ranging from 47MHz to 6GHz, with two full-duplex RX TX channels. One of the main advantages of the BladeRF is its compatibility with the majority of open-source radio tools. It is a widely recognized tool in the field, providing extensive documentation and community support. Even though it’s quite common for this type of device, the data processing on an FPGA is remarkable. This feature alone makes it a little gem. Just a small note: I chose a kit with a plastic case, but it’s better to get a metal case to protect the device from interference.In case you’re wondering what to get me for Christmas ;).
Getting start with bladerf
The BladeRF drivers can be found in many Linux distribution repositories. Here, the experimentation is being conducted using Arch Linux. The package includes a CLI and the device drivers. Please note that installing the package may require a computer restart.
sudo pacman -S bladerf
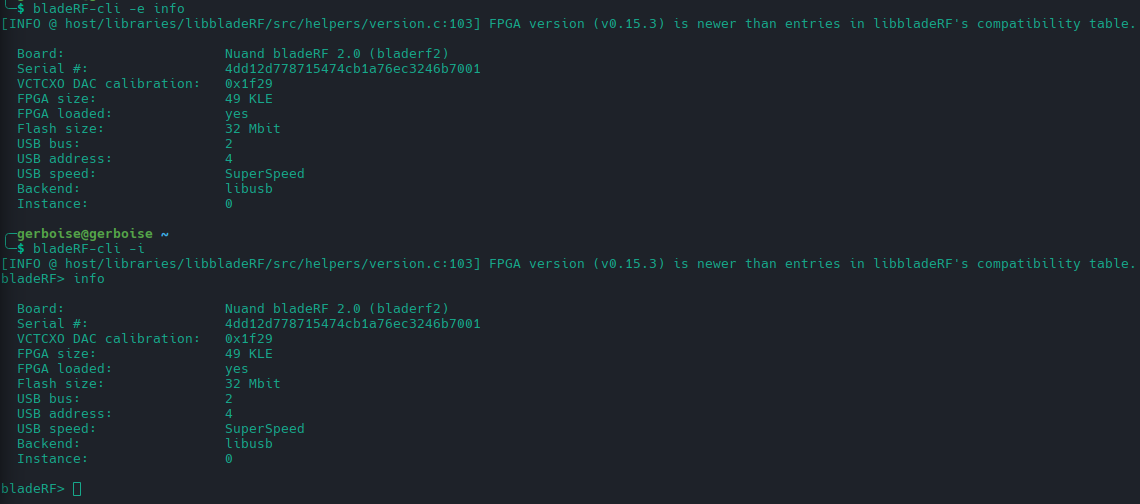
The CLI allows you to interact with the device. To get started, you can check if a BladeRF is recognized :

By default, when the device is new, nothing is loaded into the FPGA. To do this, you need to download the bitstream from the Nuand website, the manufacturer of the BladeRF and load it via the CLI :

Once that’s done, you can query the device using a command through the CLI or open a shell that allows you to interact with the device.
Getting start with the CLI
Gain
Radio gain refers to the amplification of signals received (RX) and transmitted (TX) by the device. Proper gain settings are crucial for optimal performance, as they enhance the strength of both incoming and outgoing signals, ensuring clear and reliable communication.
Here is the command to obtain the gain configuration for the different channels:

RX1 overall and RX2 overall represent the total gain applied to the reception channels 1 and 2, respectively. The overall gain is the total increase in the received signal, indicating how much the input signal is amplified before it is processed or analyzed.
By default, the device automatically sets the gains through a mechanism called Automatic Gain Control (AGC). This feature is enabled by default on the BladeRF, ensuring optimal gain settings without manual intervention :
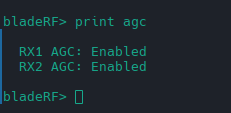
To manually configure the gain, you need to disable AGC first with the command set agc off, and then adjust the gain as needed, for example: set gain rx1 42. Changes in gain do not take effect immediately. You need to activate the channel for the changes to take effect :
bladeRF> print gain

  Gain RX1 overall:   42 dB (Range: [-15, 60])
              full:   53 dB (Range: [-4, 71])
  Gain RX2 overall:   60 dB (Range: [-15, 60])
              full:   71 dB (Range: [-4, 71])
  Gain TX1 overall:   56 dB (Range: [-23.75, 66])
               dsa:  -10 dB (Range: [-89.75, 0])
  Gain TX2 overall:   56 dB (Range: [-23.75, 66])
               dsa:  -10 dB (Range: [-89.75, 0])

bladeRF> set gain tx1 60

Setting TX1 overall gain to 60 dB
  Gain TX1 overall:   60 dB (Range: [-23.75, 66])
               dsa:   -6 dB (Range: [-89.75, 0])
Frequency
Adjusting the settings involves two parameters: the center frequency and the bandwidth :
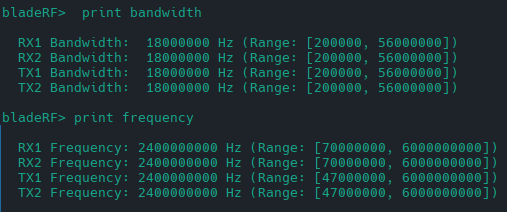
These can be configured using the following commands:
set frequency rx1 2.4GHz
set bandwidth 1.5MHz
Sample rate
The sample rate is the frequency at which a continuous signal is converted into a series of discrete values for digital processing or analysis. In SDR, a higher sample rate allows for more accurate capture and representation of rapid variations in a radio signal, thereby improving the quality of reception and transmission.

The sample rate can be set similarly using the command: set samplerate rx1 40M
QQRX
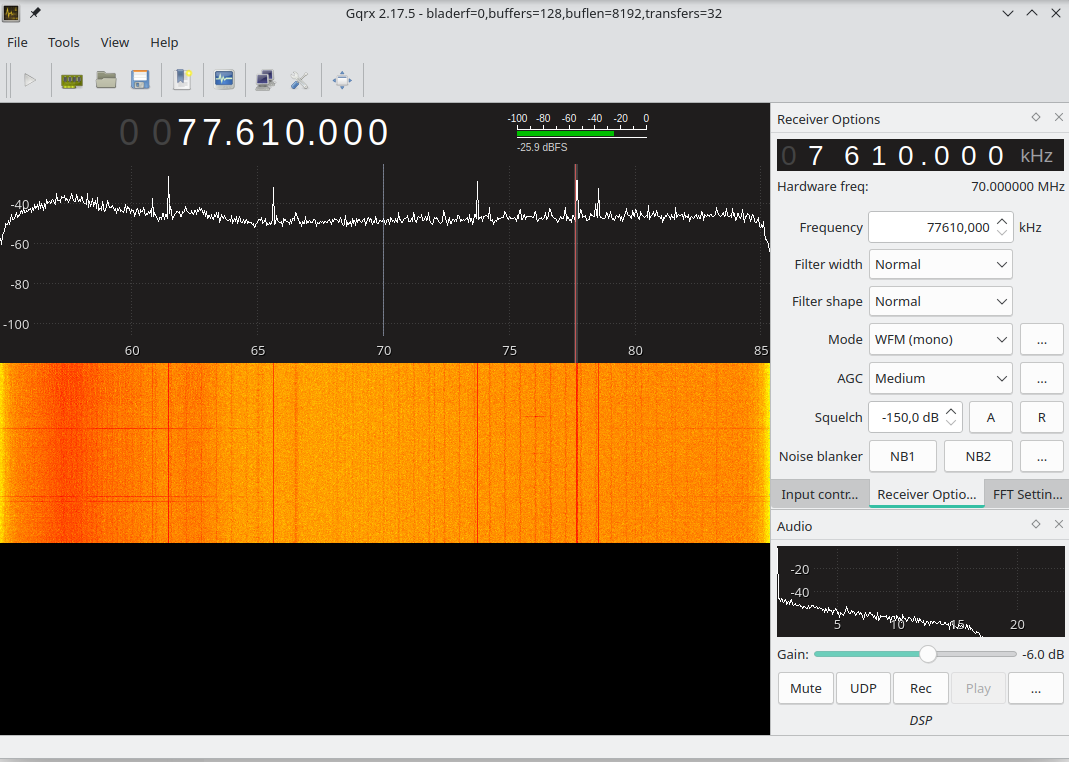
GQRX is a highly useful tool for analyzing radio signals. However, unlike the RTL-SDR, the bladeRF is not automatically detected on my computer. I’m not entirely sure why this is the case. Fortunately, by specifying the device parameters as bladerf=0,buffers=128,buflen=8192,transfers=32, it works perfectly. This simple configuration allows for smooth operation and signal analysis with the bladeRF.
Conclusion
This article aimed to provide a hands-on introduction to the bladeRF and its Command Line Interface (CLI). While it might not be the most efficient approach to use the CLI for comprehensive SDR tasks—given the availability of more complete open-source tools—it proves invaluable for debugging programs.
Looking ahead in my radio blog series, I plan to continue my SDR journey with the bladeRF. This will not only enhance my learning but also open up new horizons in radio technology, thanks to the bladeRF’s broader frequency range and transmission capabilities. Stay tuned as we delve deeper into the exciting world of SDR and explore the full potential of bladeRF.